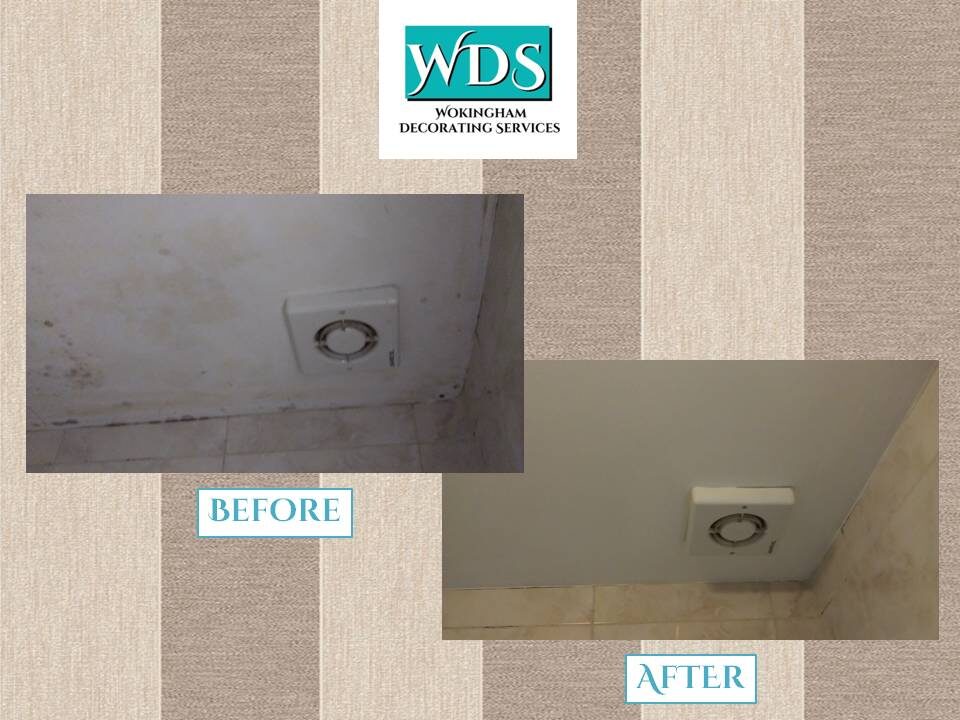
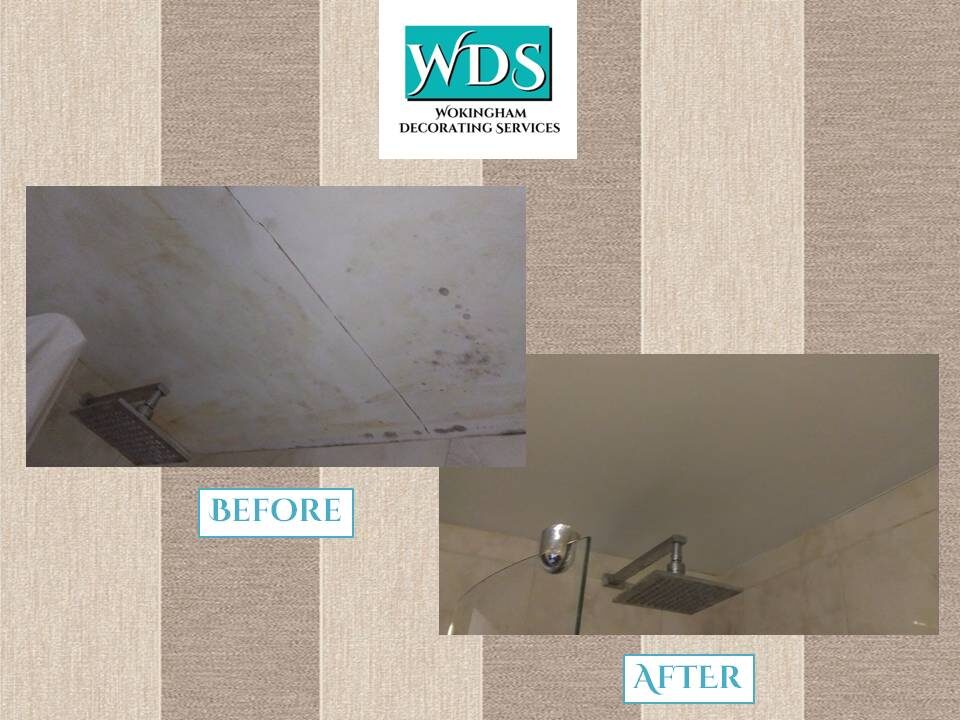
Sharing a house with a lot of other people has its problems. Not just the "who used the last of the milk?" or "who ate my biscuits?" type of problems. The more people you have in a house, the more everything in the house is subjected to wear and tear. Often the bathroom can be the biggest problem area. Apart from the difficulties of booking a time in the shower so you're not late for work in the morning, if you have a lot of people sharing one bathroom/shower room, the steam and condensation can lead to all sorts of problems. Unprotected wood and mdf can act like a sponge and absorb moisture from the air, causing them to swell and expand. Walls and ceilings are permanently damp, often leading to unsightly stains and mould.
It was just this type of situation that I was called in to deal with recently. Sorting it out is actually relatively simple, but not as simple as just trying to paint over it with ordinary emulsion. But taking the correct, simple steps (in the right order) can make a dramatic (and long lasting) difference.
The first thing to say is that these problems often occur when there is inadequate ventilation in the room. A good quality, high capacity extractor fan is designed to pump all the warm, damp air out of your bathroom, which will go a long way towards reducing the problems. Prevention is always better than cure. I don't have the necessary qualifications or insurance to start installing electrical items in bathrooms, but my first recommendation would always be to look into a good extractor if you have a damp/mould problem caused by too much atmospheric moisture in your bathroom.

The first step is to kill off the mould. Mould is a living organic organism, and simply painting over it will not get rid of it - it will come back. Mould treatments are affordable and easy to get hold of. They used to be of the "apply with a brush and then wipe off" variety, which inevitably meant, if you were working on a ceiling, that at least half of the chemical treatment ended up running down the brush, over your hand, down your sleeve.... Fortunately, many are now available in a pump-action spray pack, which makes life much less messy. So simply spray on the mould treatment, wait (if/as specified in the instructions), and then wipe off. When I say "wipe off", I would use a damp cloth, and apply a reasonable amount of elbow grease, rinsing the cloth regularly, to try to get the area as clean as possible.
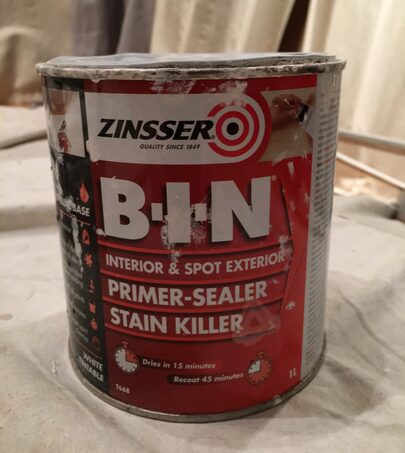
After the mould treatment has been applied and cleaned off, you should see a dramatic difference, but there will probably still be some staining present caused by the mould. Again, unfortunately simply painting over this will not solve the problem - the stains will almost certainly bleed back through your paint. So the next stage is to block them out with a stain-blocking primer. The two most widely used in my experience are Polycell Stain Block, which comes in a handy aerosol, which is great for small areas but can get expensive if you are covering a larger area (and you have to be careful where the spray is going!), and Zinsser B-I-N, which all decorators love!

B-I-N is applied with a brush, dries quickly and covers really effectively. It's great stuff - the only thing to be aware of is that nothing will get your brush clean afterwards apart from meths, so make sure you have some in before you use the product.
So now the prep stage is complete, and it's time to paint the ceiling. Zinsser, the makers of B-I-N, have now brought out mould-inhibiting paint. Many other manufacturers do them too, but being a big Zinsser fan I was keen to give theirs a try. It's called Perma-White, and it just goes on like regular emulsion. Two coats and you're done - problem solved!

One note of apology about the photos - when I took the "after" shots, the light was very different, which makes the ceiling look grey. It really wasn't, it was crisp white, but unfortunately my photographic skills aren't as good as my decorating ones!
